Important Notes
Collections
-
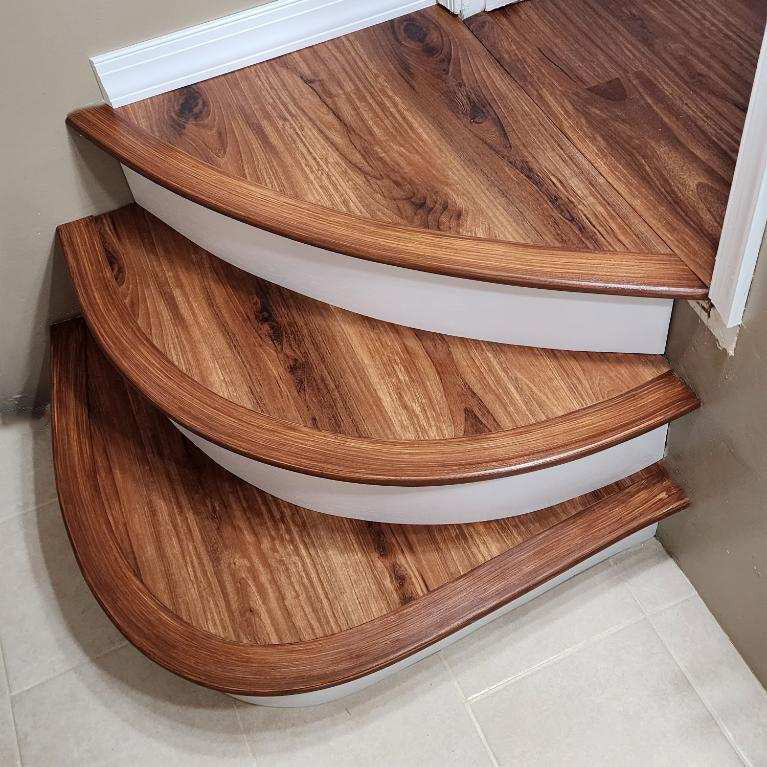
Stair Nosing & Stair Treads
Follow these 5 steps to correctly order a Flexible Stair Nosing Product: ...
-
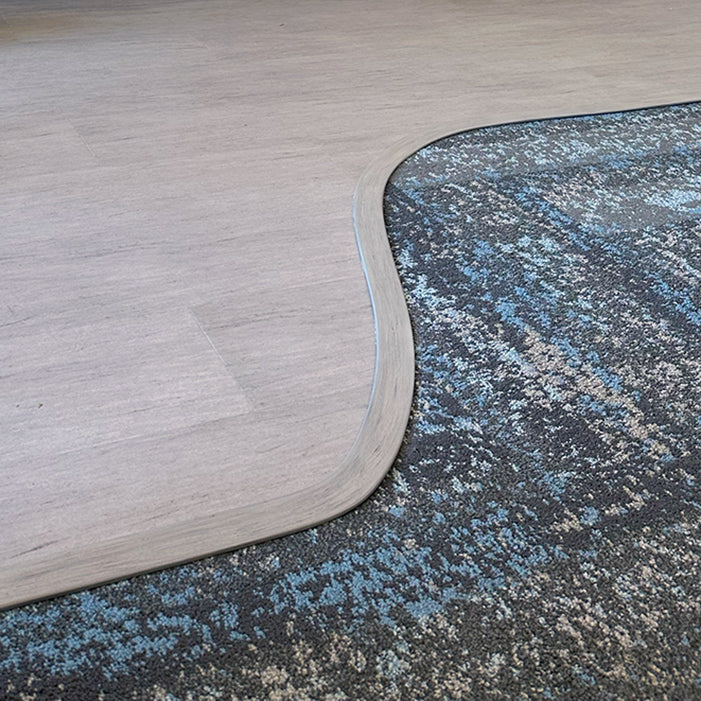
Transitions: Reducers & End Caps
Flexible Transitions: Reducers, End Caps, Trim Pieces, Thresholds made to match laminate...
-
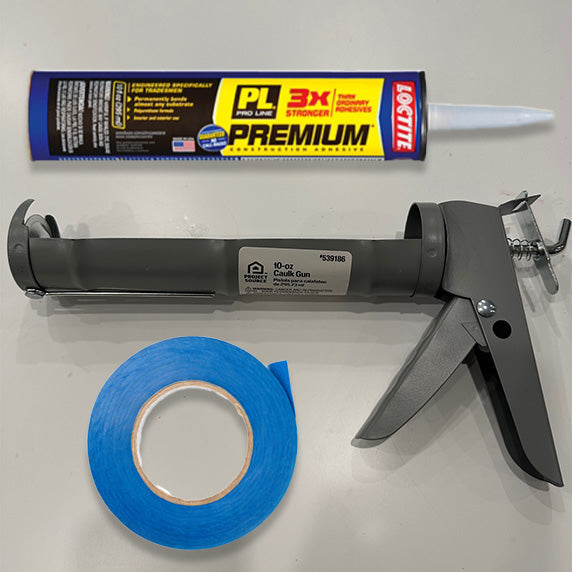
Ancillary Products
Everything you need to install our Moldings!
-
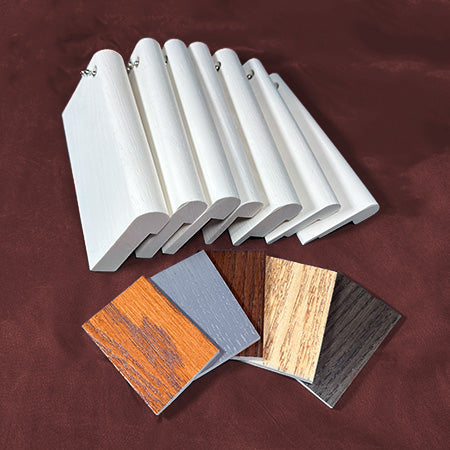
Product Samples
Order samples before you purchase. Save time and money by making sure...


